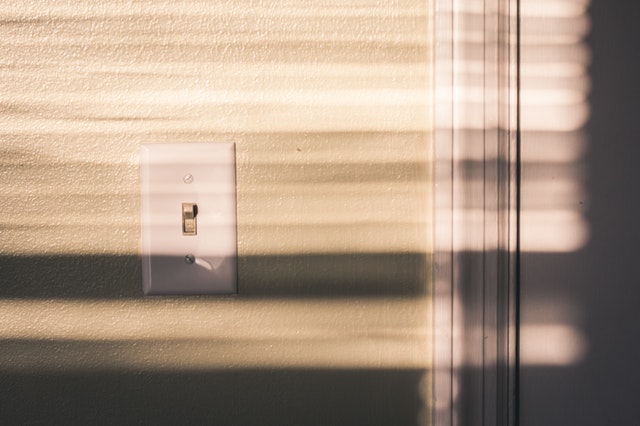
Your light switch doesn’t work, but all the other lights on the same circuit do. It might be time to change the switch. But before you call an electrician you should give this job a go on your own because it’s truly is that easy. In this article I’ll go over what you need to do to get this job done. Before you get started its always important to kill the power to the circuit breaker and label the switch your dealing with so its easy to get the power going again.
Then move to the switch plate and unscrew the two exposed screws. The visually locate the wires so you can see what you’ll be working with. From here you’ll need to remove the switch itself from the wall to give yourself a little more space to work. This requires moving two more screws typically. Next you’ll need a circuit tester to make sure there isn’t any power running to the switch. If there is, its unsafe to work with it and you should double check the breaker. Once you’ve determined there is no power using your circuit tester you’re ready to move onto the next step.
Pull the switch out from the wall a few inches and take note of the two black power cables, both of which need to be removed by yet again unscrewing two philips heads. The third wire youll see is a copper ground and needs to be removed as well. At this point the hard part it over! Next get out your new switch which should look very similar to your initial switch. Follow the steps above in reverse order and you’ll be happy you didn’t call that electrician!